Monthly Archives: February 2014

Broccoli-Pancetta Quiche for a Sunday Afternoon

I made this for a friend who came over on a Sunday afternoon. She’s an amazing cook, so I was pretty pleased with myself when she asked for seconds. This would probably make a great dinner, but the prep required might be more than many of us feel like doing after a long day at work.
No matter; it goes extremely well with Mimosas and conversation.

For the quiche:

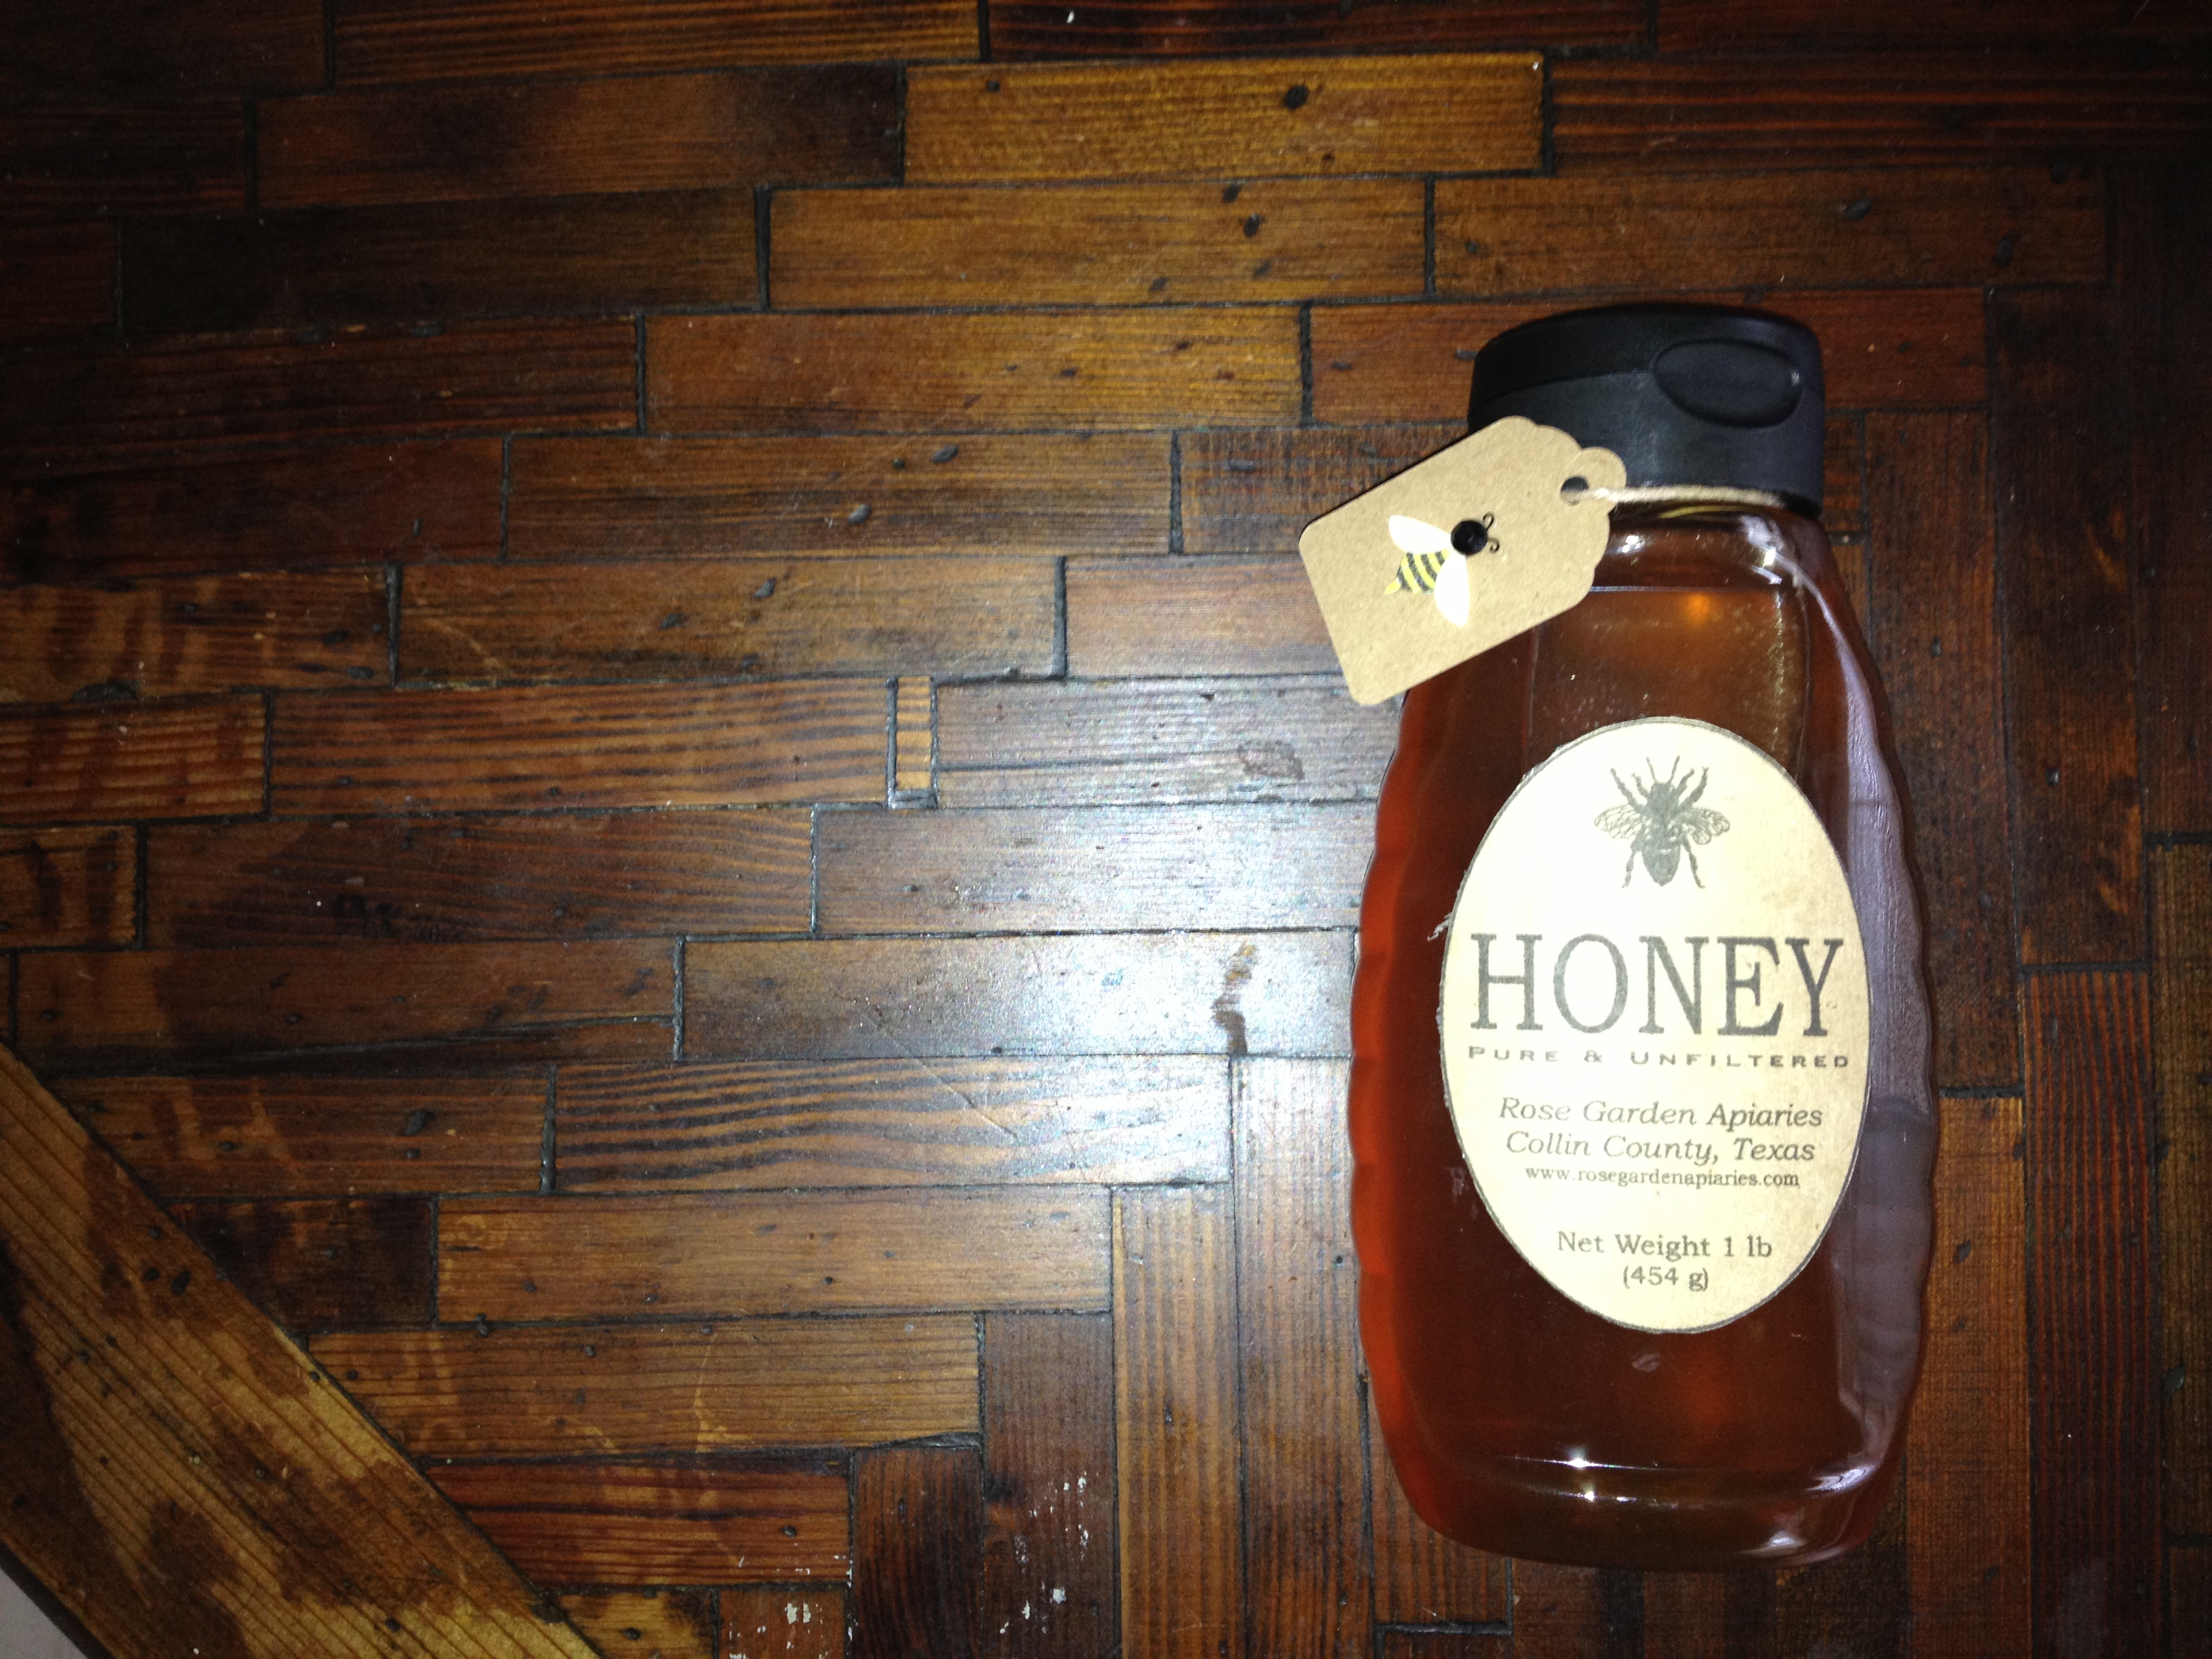
  • 1/2 cup grated Gruyère cheese
  • 1 medium onion, diced
  • 6 eggs
  • 3/4 cup half and half
  • 1/2 lb pancetta, diced
  • 1/2 cup sliced mushrooms
  • 2 small purple potatoes
  • 1 sprig baby broccoli
  • 1 cup grape tomatoes (sliced in half)

For the crust:

  • 1 1/4 cups flour
  • 1/2 teaspoon sugar
  • 1/2 teaspoon salt
  • 1 stick frozen unsalted butter, cut into pieces
  • 1 – 2 tablespoons olive oil
  • 3 – 4 tablespoons ice water
  • 2-3 sprigs fresh thyme
  • black peppercorns
  • salt

Equipment:

  • large mixing bowl
  • pastry cutter
  • flat spatula
  • a good, sharp knife
  • 9-inch pie plate
  • rolling pin
  • mortar and pestle
quiche before baking quiche after baking

Preparation:

I used to worry about making a perfect crust. Eventually, I grew up and realized that perfect is the enemy of the good. This is a modified version of a 3-2-1 dough — the relative proportions of flour, fat and water. For optimal results, I keep the flour and butter in the freezer before starting my prep.

First, wash your thyme, strip the leaves and toss the stems. Using a sharp knife, finely chop the thyme, then set it aside. Your hands are going to smell great.

Use a mortar and pestle to grind some peppercorns, then add a little salt. (What do you mean you don’t have a mortar and pestle) Fine, use table salt and pepper.

Dice the frozen butter with a sharp knife and return it to the freezer. Next, combine the flour, sugar and salt and thyme in a mixing bowl. Add the diced butter to the flour mixture and use a pastry cutter to chop until the butter is evenly distributed. (I usually stop when the butter chunks are slightly smaller than peas.)

While stirring with a flat spatula, add the ice water until it’s absorbed. Next, drizzle olive oil over the dough and use the pastry cutter again to combine. Don’t stir too much; you’ll get a tougher crust. Use your hands to gently gather it into a ball, wrap it in plastic, and put it the fridge for 60 minutes.

Fry the diced pancetta until brown; mix in the diced onion, then drain and set aside in a large bowl.

Boil the diced purple potatoes until tender; drain them and shock them with cold water. Drain again, and add to the bowl of pancetta and onion.

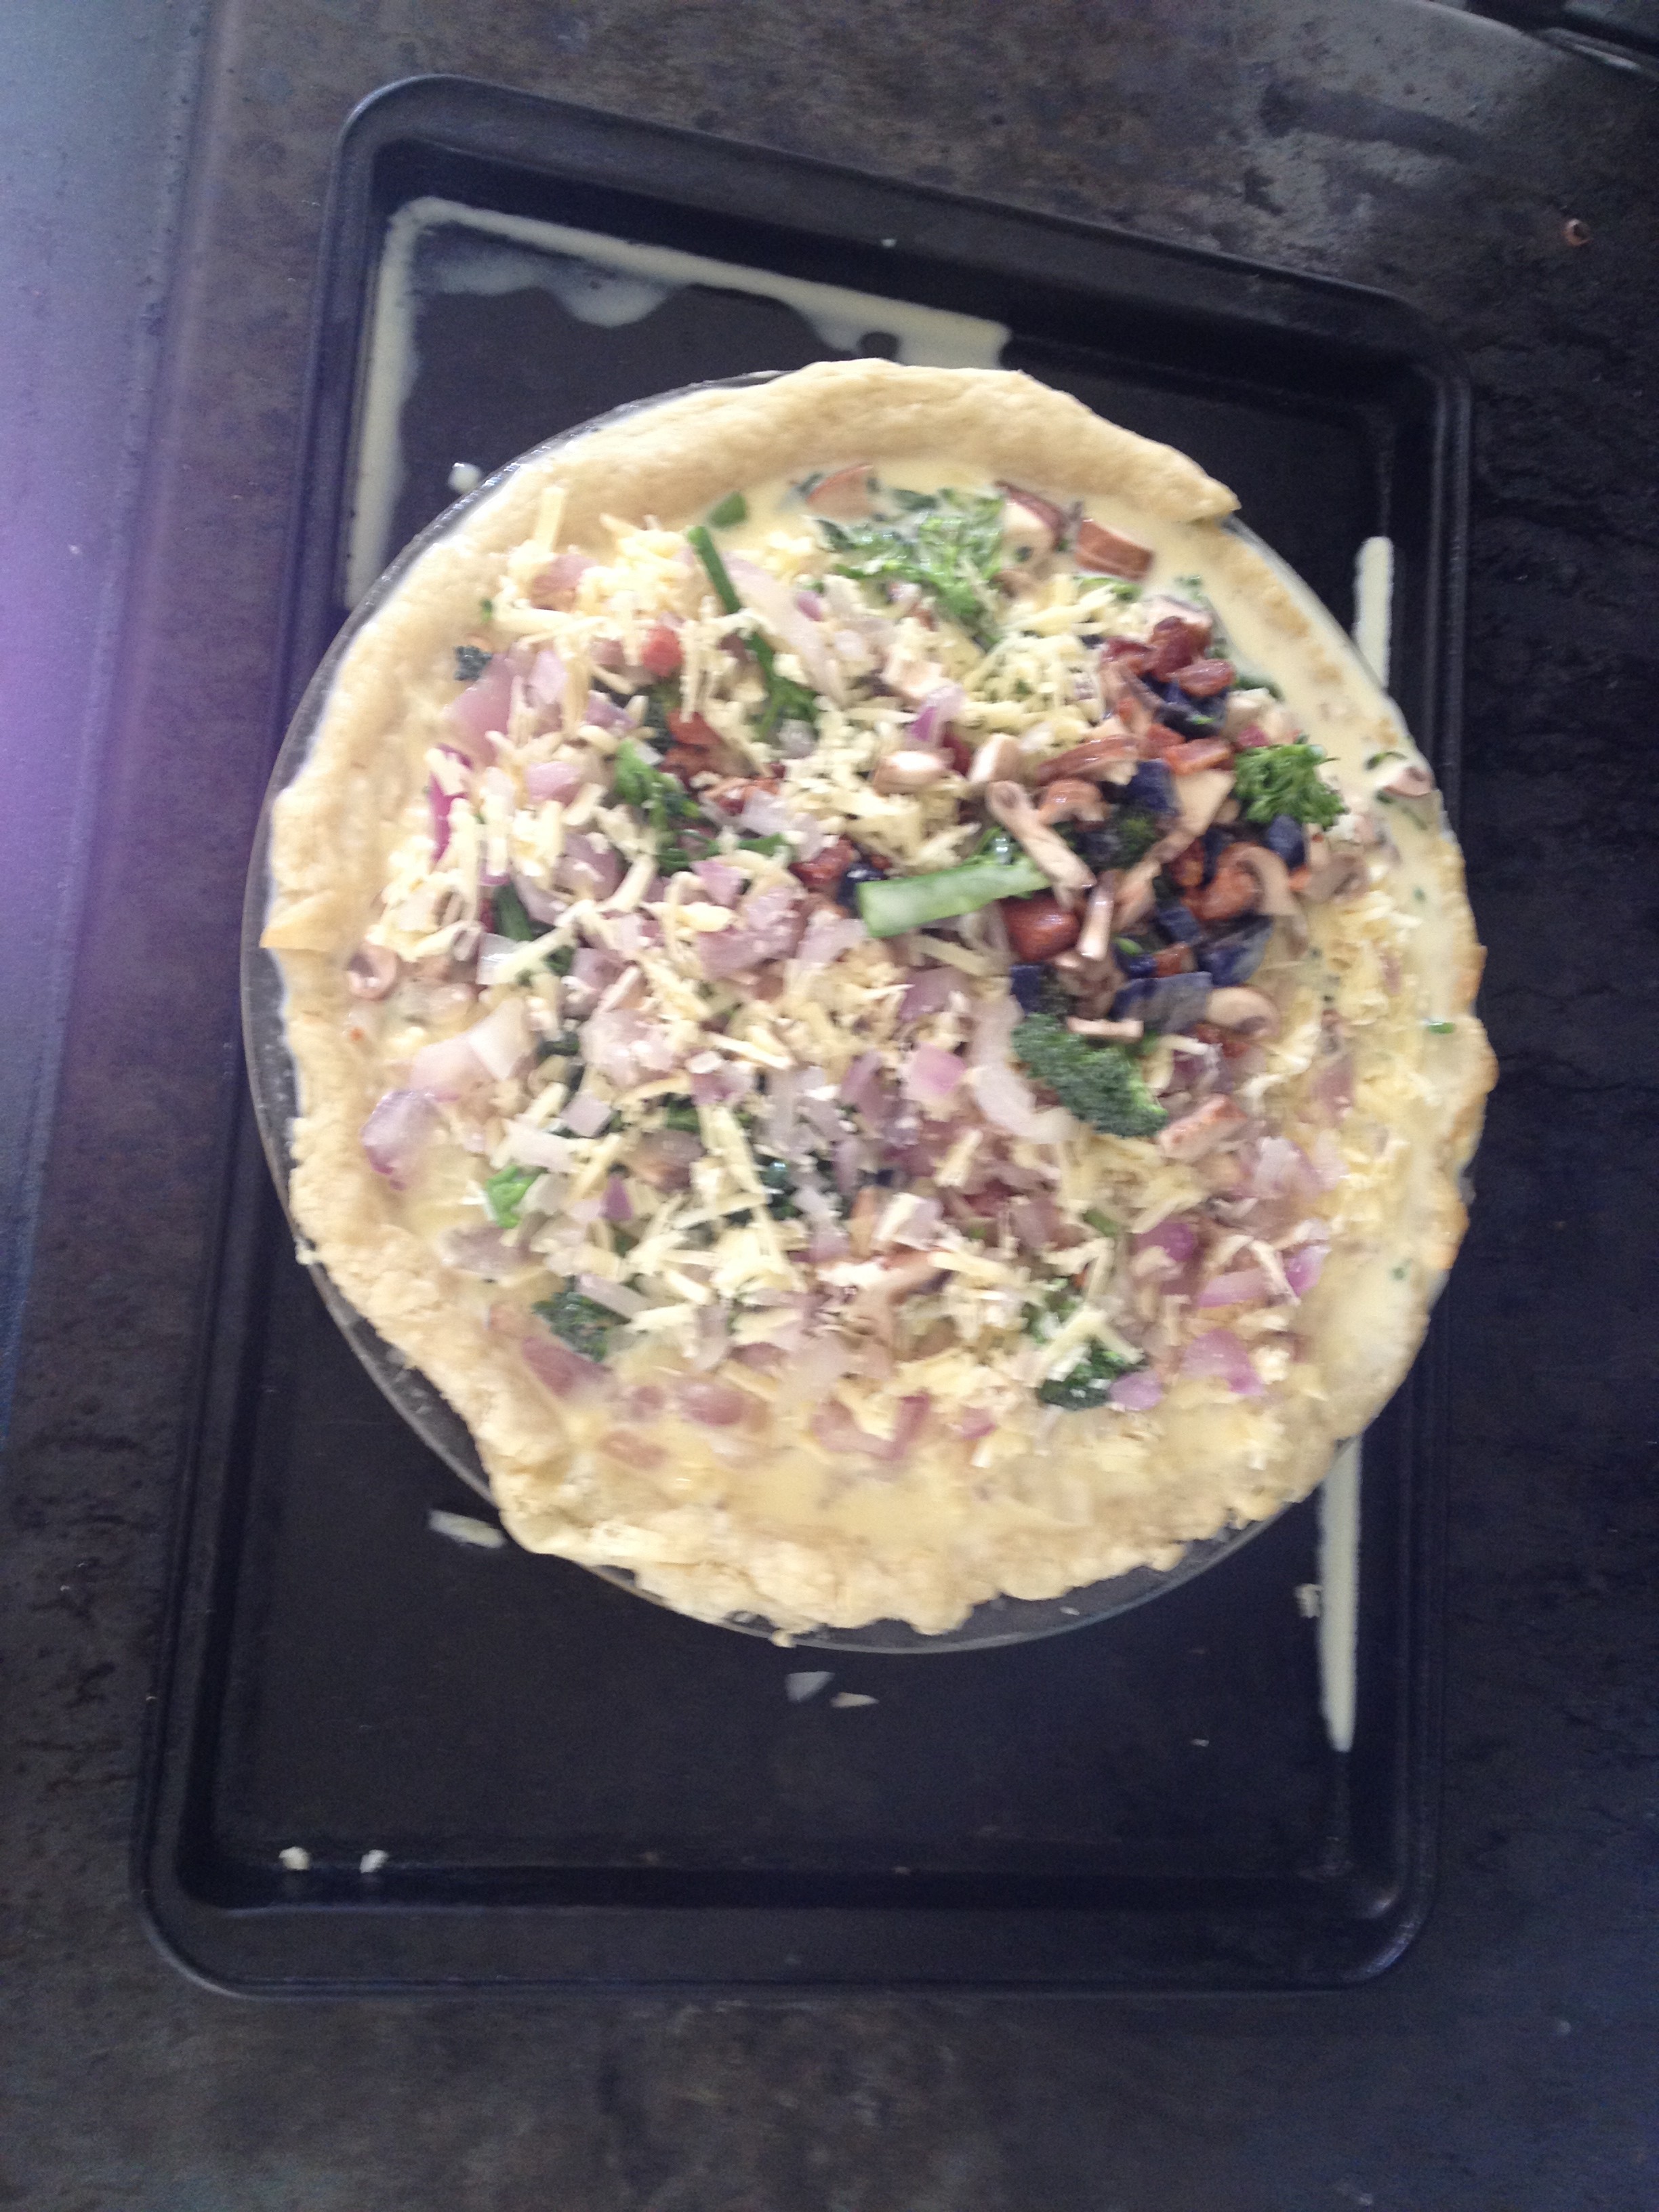
Dice the baby broccoli and sliced tomatoes, and put them in the bowl so they can make some new friends.

Crack 6 eggs into a different mixing bowl, add the half-and-half, and whip it good. Toss in the broccoli, potatoes, pancetta, onion and tomatoes, then stir gently until it’s all combined.

Preheat the oven to 350F.

Sprinkle a good amount of flour on a clean work surface and roll out the crust until it’s at least a foot in diameter and approximately 1/8 inch thick. Lay it over the pie dish and let it flop over the sides by an inch, then trim it with a sharp nice or kitchen shears and roll it back to create a nice rim. The rim’s important; it looks nice, but it’ll also help contain the quiche so you can fill it up to the top of the dish.

(Semi-pro tip: I roll crust out on a lightweight cutting board; when I have the thickness I want, I invert the pie plate on the cutting board and invert it before forming it into a neat shape.)

Pre-bake the crust; you can use pie weights, or you can put a cup or two of dried beans to hold it down. Put it in the 350F oven about 20 minutes; it should be a *very* light brown.

Let the crust cool for a few minutes, then sprinkle half of the Gruyère across the bottom. Pour the liquid ingredients on top, then spread the remaining cheese across the top of the batter.

Put the pie plate on a cookie sheet and place it in the center of your oven until the center is firmly. This took about 45 minutes; in my experience, when the cheese has browned to this color, it’s a good indicator that it’s nice and firm at the center.

Enjoy, and share.

Leave a comment

Filed under Cooking

Brewing Mead in Quantity: My New 6-gallon Fermenter

I shared the last of my vanilla mead last month with friends who have educated palates, and they were all favorably impressed. Even though it was young, it wasn’t immature: tangible notes of caramel, light floral and a taste of apricot.

Meads are notoriously slow to ferment, which is why I get the ball rolling by adding extra sugar. The last time I used this method, I ended up with a very drinkable beverage that was 12.3% ABV. Since I got universally positive feedback, I decided to super-size this next batch and experiment with some new flavors.

Honey from Rose Garden Apiaries.

Research indicates that I’ve been using the wrong words this whole time. Vanilla mead isn’t technically mead, it’s methergin (mead, plus spices and flavorings). Also, adding sugar makes this “short mead,” or I suppose, “short methergrin.” Now that I understand that mead is a global beverage, the potential flavor combinations are firing up my imagination.

The liquid now burbling in my kitchen will make another batch of vanilla methergin, a ginger batch and a few bottles of melomel — mead made with fruit. My friend Peter Christy owns Far Leaves Tea, so I plan to infuse the melomel with his Blood Orange Tea to give a few bottles a very distinctive ruby color and flavor. I also have some champagne bottles I can use to make sparking mead!

Obviously, it all starts with the mead:

  • 4 liters water
  • 5.5 kg honey
  • 25 g Premier Premier Cuvée wine yeast
  • 1.6 g Fermaid K yeast nutrient
  • 400 g granulated sugar
  • a few gallons of room-temperature filtered water
  • an airlock

For me, it’s easier to calculate Metric than Imperial; trying to remember the exact number of ounces in 3/4 of a gallon is a PITA.

Twelve pounds of wild honey atop a 6.5 gallon fermenter.

Twelve pounds of Texas honey atop a 6.5 gallon fermenter.

I obtained 12 pounds of honey via a friend who knows an apiarist outside Dallas. The beekeeper has no idea what we’re doing, so she should be surprised when she receives her bottles. Whatever you use, make sure it’s real raw honey that’s minimally processed. Expect to pay at least $10/pound for quality bee secretions. My last batch used honey from Mendocino, so we’ll see if I can discern a difference.

The fermenter above is my primary; when the time comes to rack this batch, I’ll probably transfer it to individual bottles so I can start infusing with herbs and fruit.

Let’s get started:

First, add about 10 liters of filtered water to a very well-cleaned fermenter.

stirring honey into hot water for mead

Next, add about 4 liters of filtered water to each stock pot, bring the water to to a boil, then turn off the heat and divide the honey equally between both pots.

water and honey after boiling

After boiling the honey-water mixture for 5 minutes, turn off the heat, then skim and discard the foam. You don’t have to boil your honey, but the wild yeast will compete with the fancy French yeast you just paid for. Natural yeast can also leave a skunky note, so boiling is recommended.

Put your pot in an ice bath to bring the temp down into the 80 – 90F range. Then, pour the concentrated wort into the fermenter with the filtered water and mix. Keep stirring and add all of the sugar to the fermenter.

When the sugar is dissolved, add six grams of Premier Cuvée and stir with a large slotted spoon to break up any clumps. Cover the container for 30 minutes and take a break. When you return, it should look something like this:

adding yeast to the mead wort in a fermenter

It should start foaming within several minutes.

Don’t freak out if it’s not a little frothy; it’ll get there. Add more filtered water, then add the rest of your honey wort to the container and stir some more. I like to add citric acid during this phase, so I added the juice of three limes.

Since I’m making short methergrin, I added 450g of sugar. This jump-starts fermentation, but invest in a hydrometer before you start this project. Before this goes into your wine cellar (or in a corner of the kitchen), you’ll need a hydrometer to tell you how much sugar is in solution; it tells you how potent the end result should be. Add filtered water until the surface is an inch below the rim, then seal it up and put in your airlock.

This batch has a specific gravity of 1.084 and a Brix of 19.8, so the end result will be around 11.3% ABV. I may boost it to 12% by adding more sugar at the end.

Day one of the largest batch of mead I've taken on so far. Within hours, the yeast got to work, and the airlock started burbling.

I have high confidence that this batch will turn out favorably. My only concern is the noise; the airlock is bubbling loud enough for me to hear it in my bedroom at night. (It sounds like someone’s crouched in my hall closet, maniacally popping bubble wrap.)

I’ll keep testing hydrometer samples over the next several weeks. When the airlock gets quiet, that’s when I’ll add fruits, herbs and other seasonings. Watch this space for updates.

3 Comments

Filed under Wine